


Ghoul In A Wall
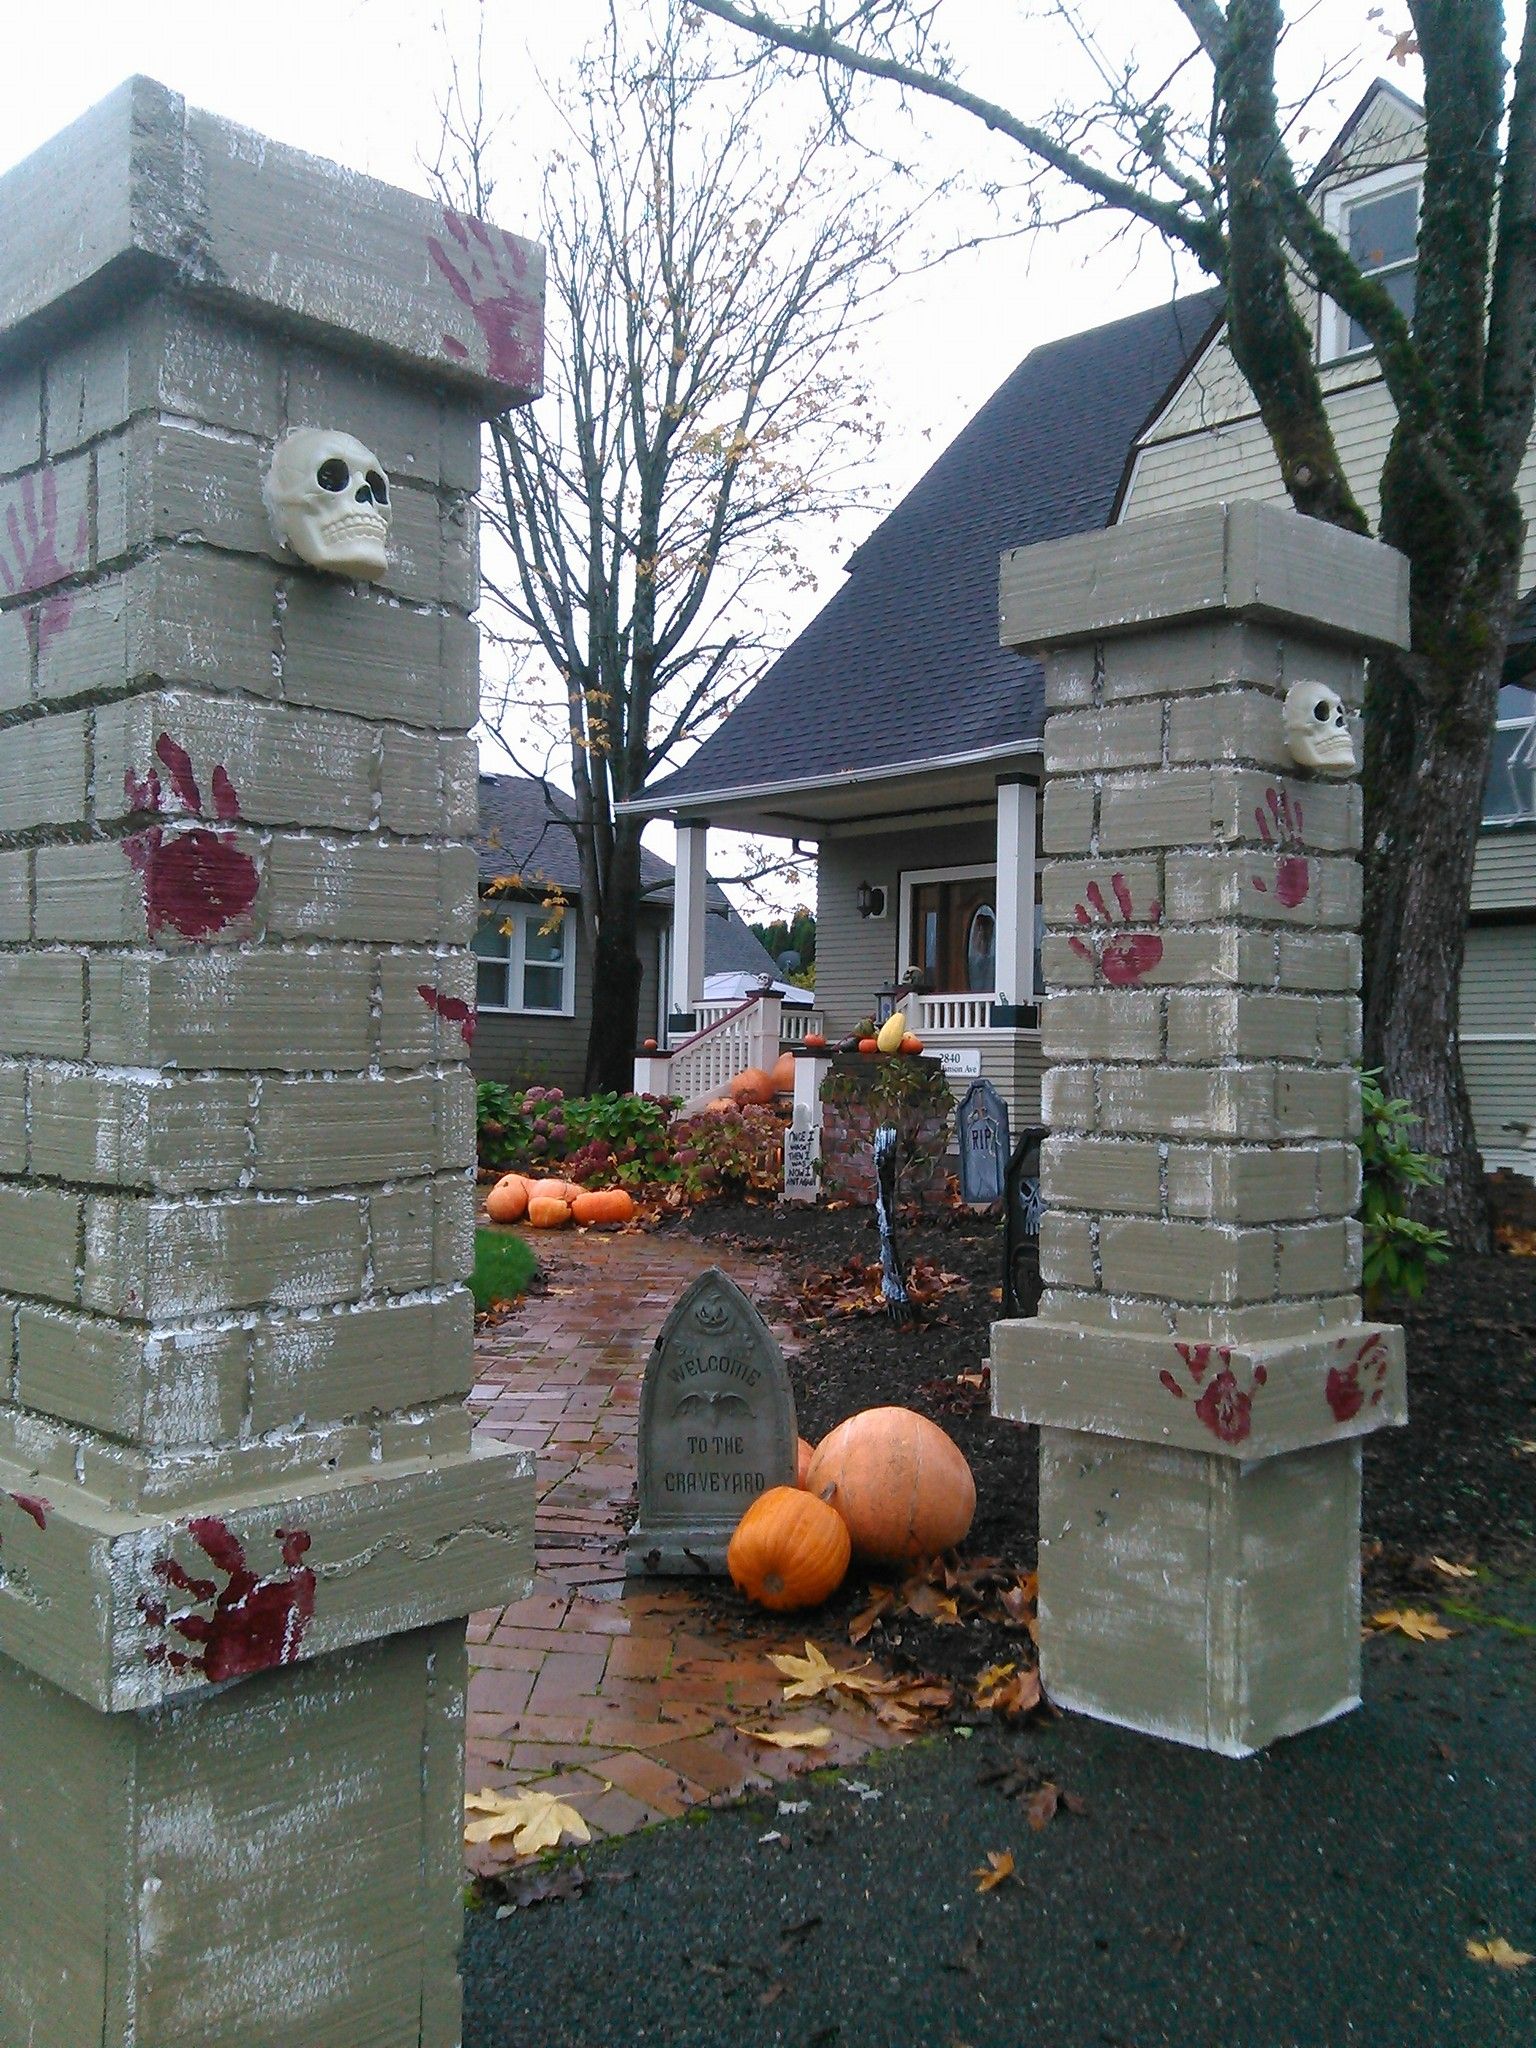
A ghoul pressing through a crumbling brick wall is one of the most effective cemetery displays you can build for almost no money. This prop uses a styrofoam base, hand-carved foam bricks, joint compound mortar, and a Bucky skull and hand to create the illusion of a specter forcing its way through solid masonry. It reads at distance and holds up indoors or out — and the total material cost is well under $30.
Materials & Tools
| Material | Qty / Notes |
|---|---|
| 1/2" styrofoam insulation board | One 2×4 ft sheet for the base |
| 1" or 2" styrofoam scraps | For cutting individual bricks |
| All-purpose joint compound | For mortar in the brick gaps |
| Bucky skeleton skull | Standard full-size skeleton skull |
| Bucky skeleton hand & arm | One arm reaching forward |
| Black poster board | Backing behind the skull for contrast |
| String of LED lights | Orange or purple; battery-operated preferred |
| Foam-safe construction adhesive | Liquid nails for foam or hot glue |
| Flat black spray paint | Base coat — use foam-safe formula |
| Grey and brown craft paint | Dry brushing and wash coats |
| Serrated knife or bread knife | Cutting and texturing foam |
| Wire brush or stiff-bristle brush | Roughening foam brick faces |
Step-by-Step Instructions
Step 1: Cut the Foam Base
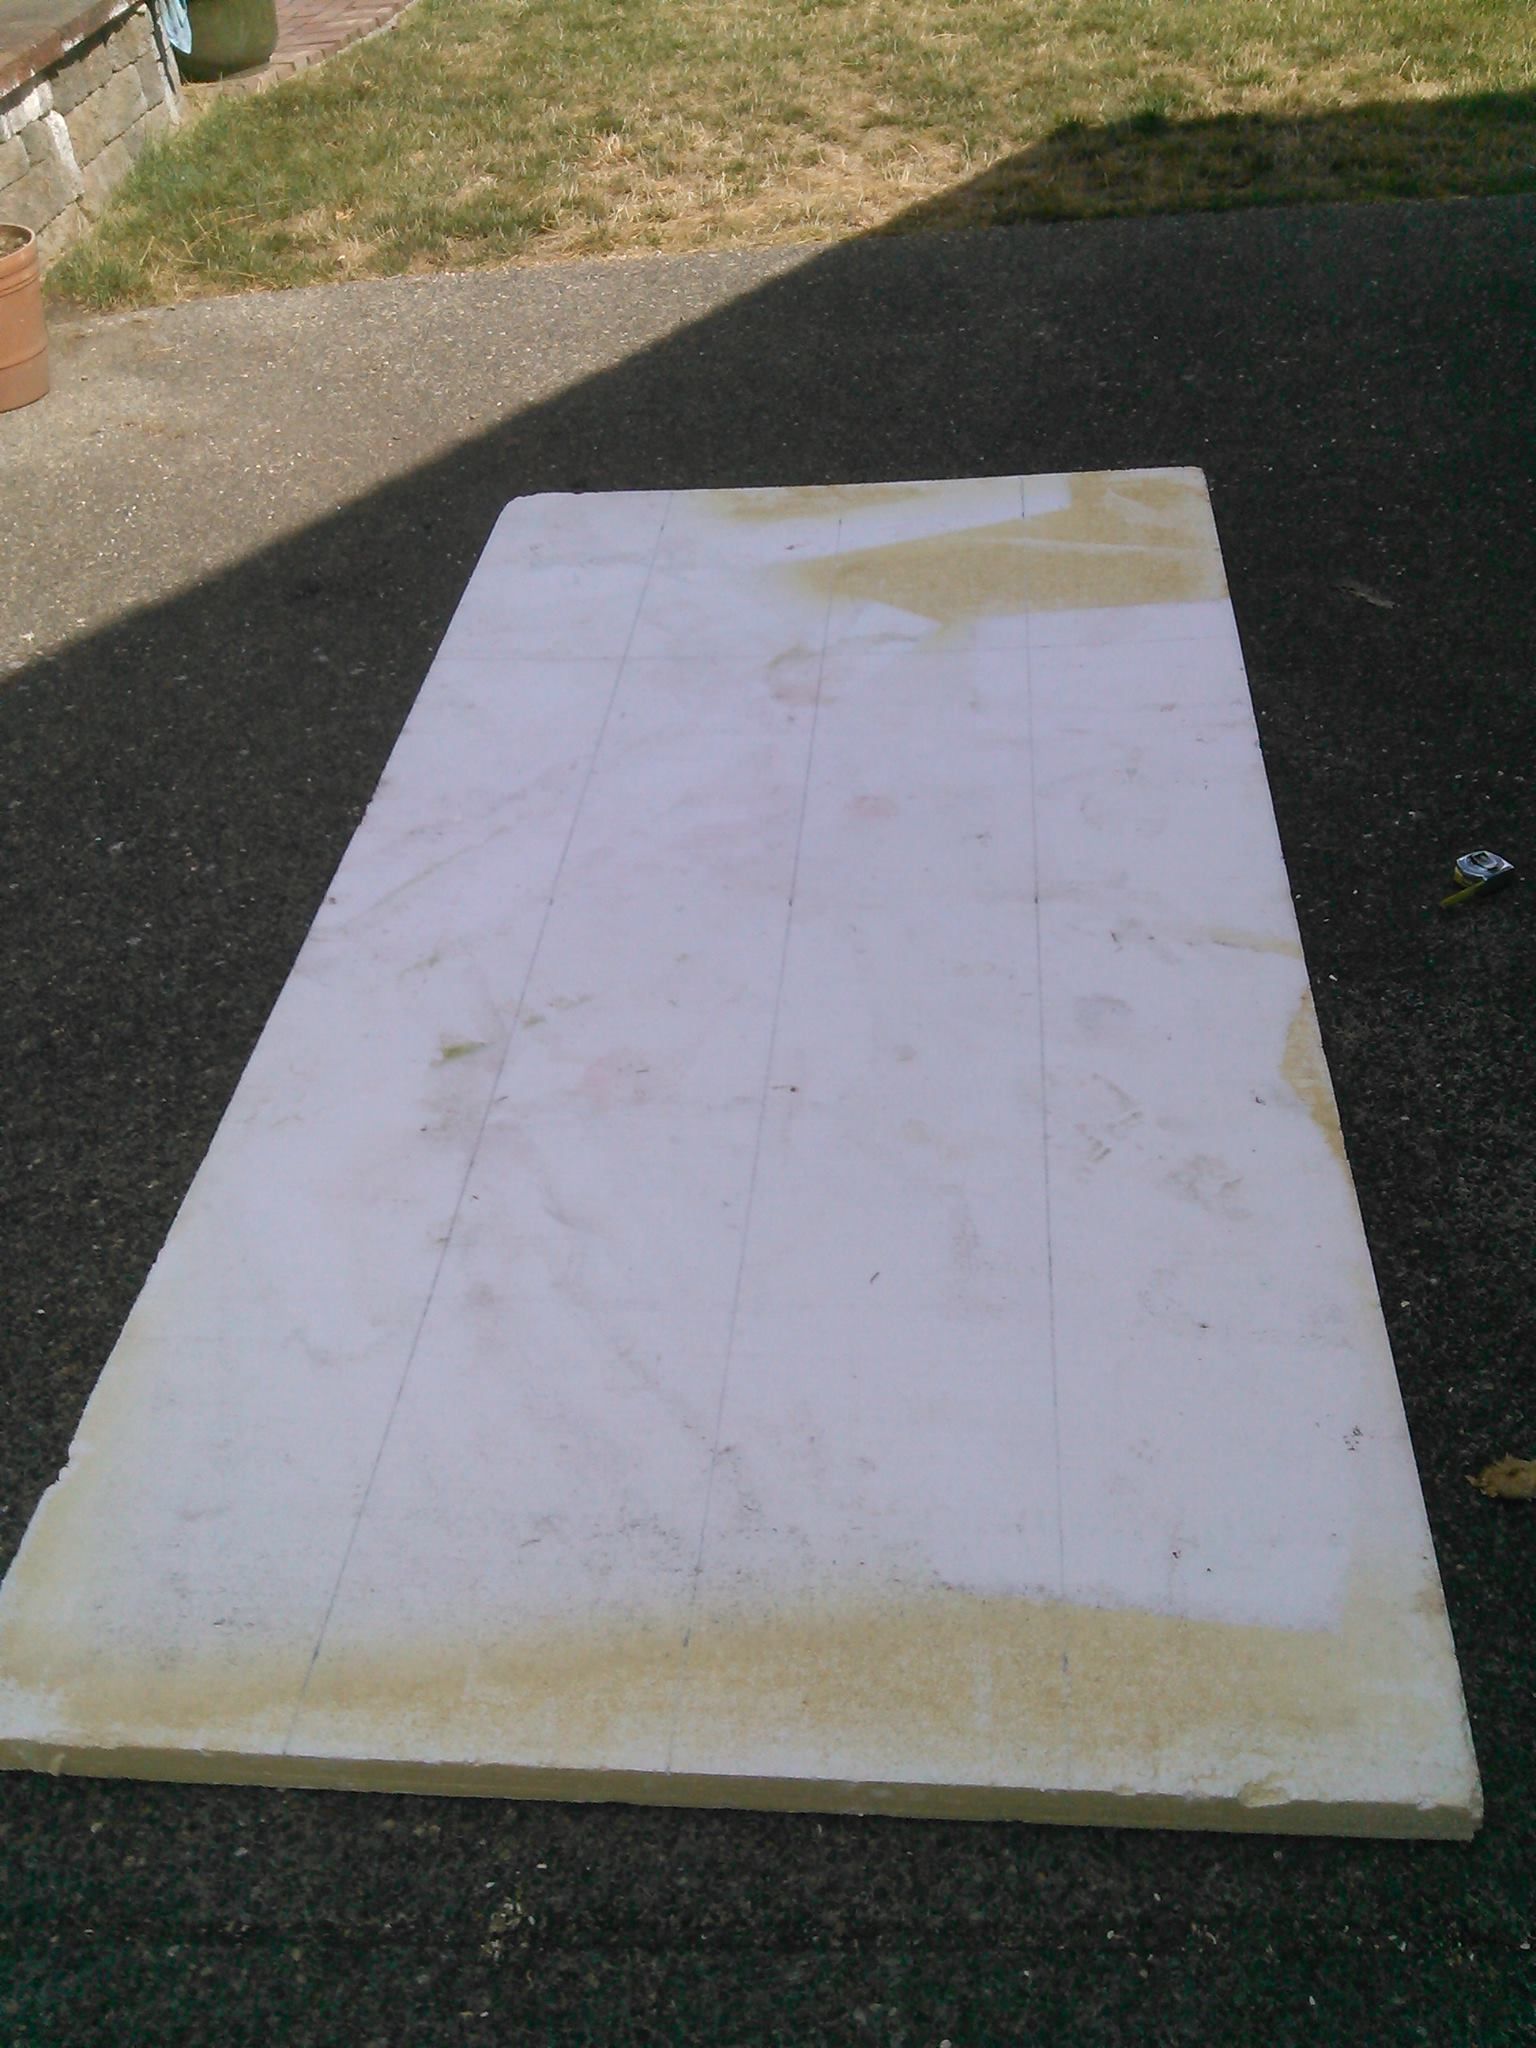
Start with a 1/2" styrofoam sheet cut to the desired finished size of your wall prop — a good starting size is 18" wide x 24" tall, which is large enough to look impressive but small enough to store flat. This base layer is the structural foundation everything else glues to. Mark your dimensions with a marker and cut with a sharp serrated knife using long, smooth strokes — sawing with short strokes tears the foam instead of slicing it cleanly.
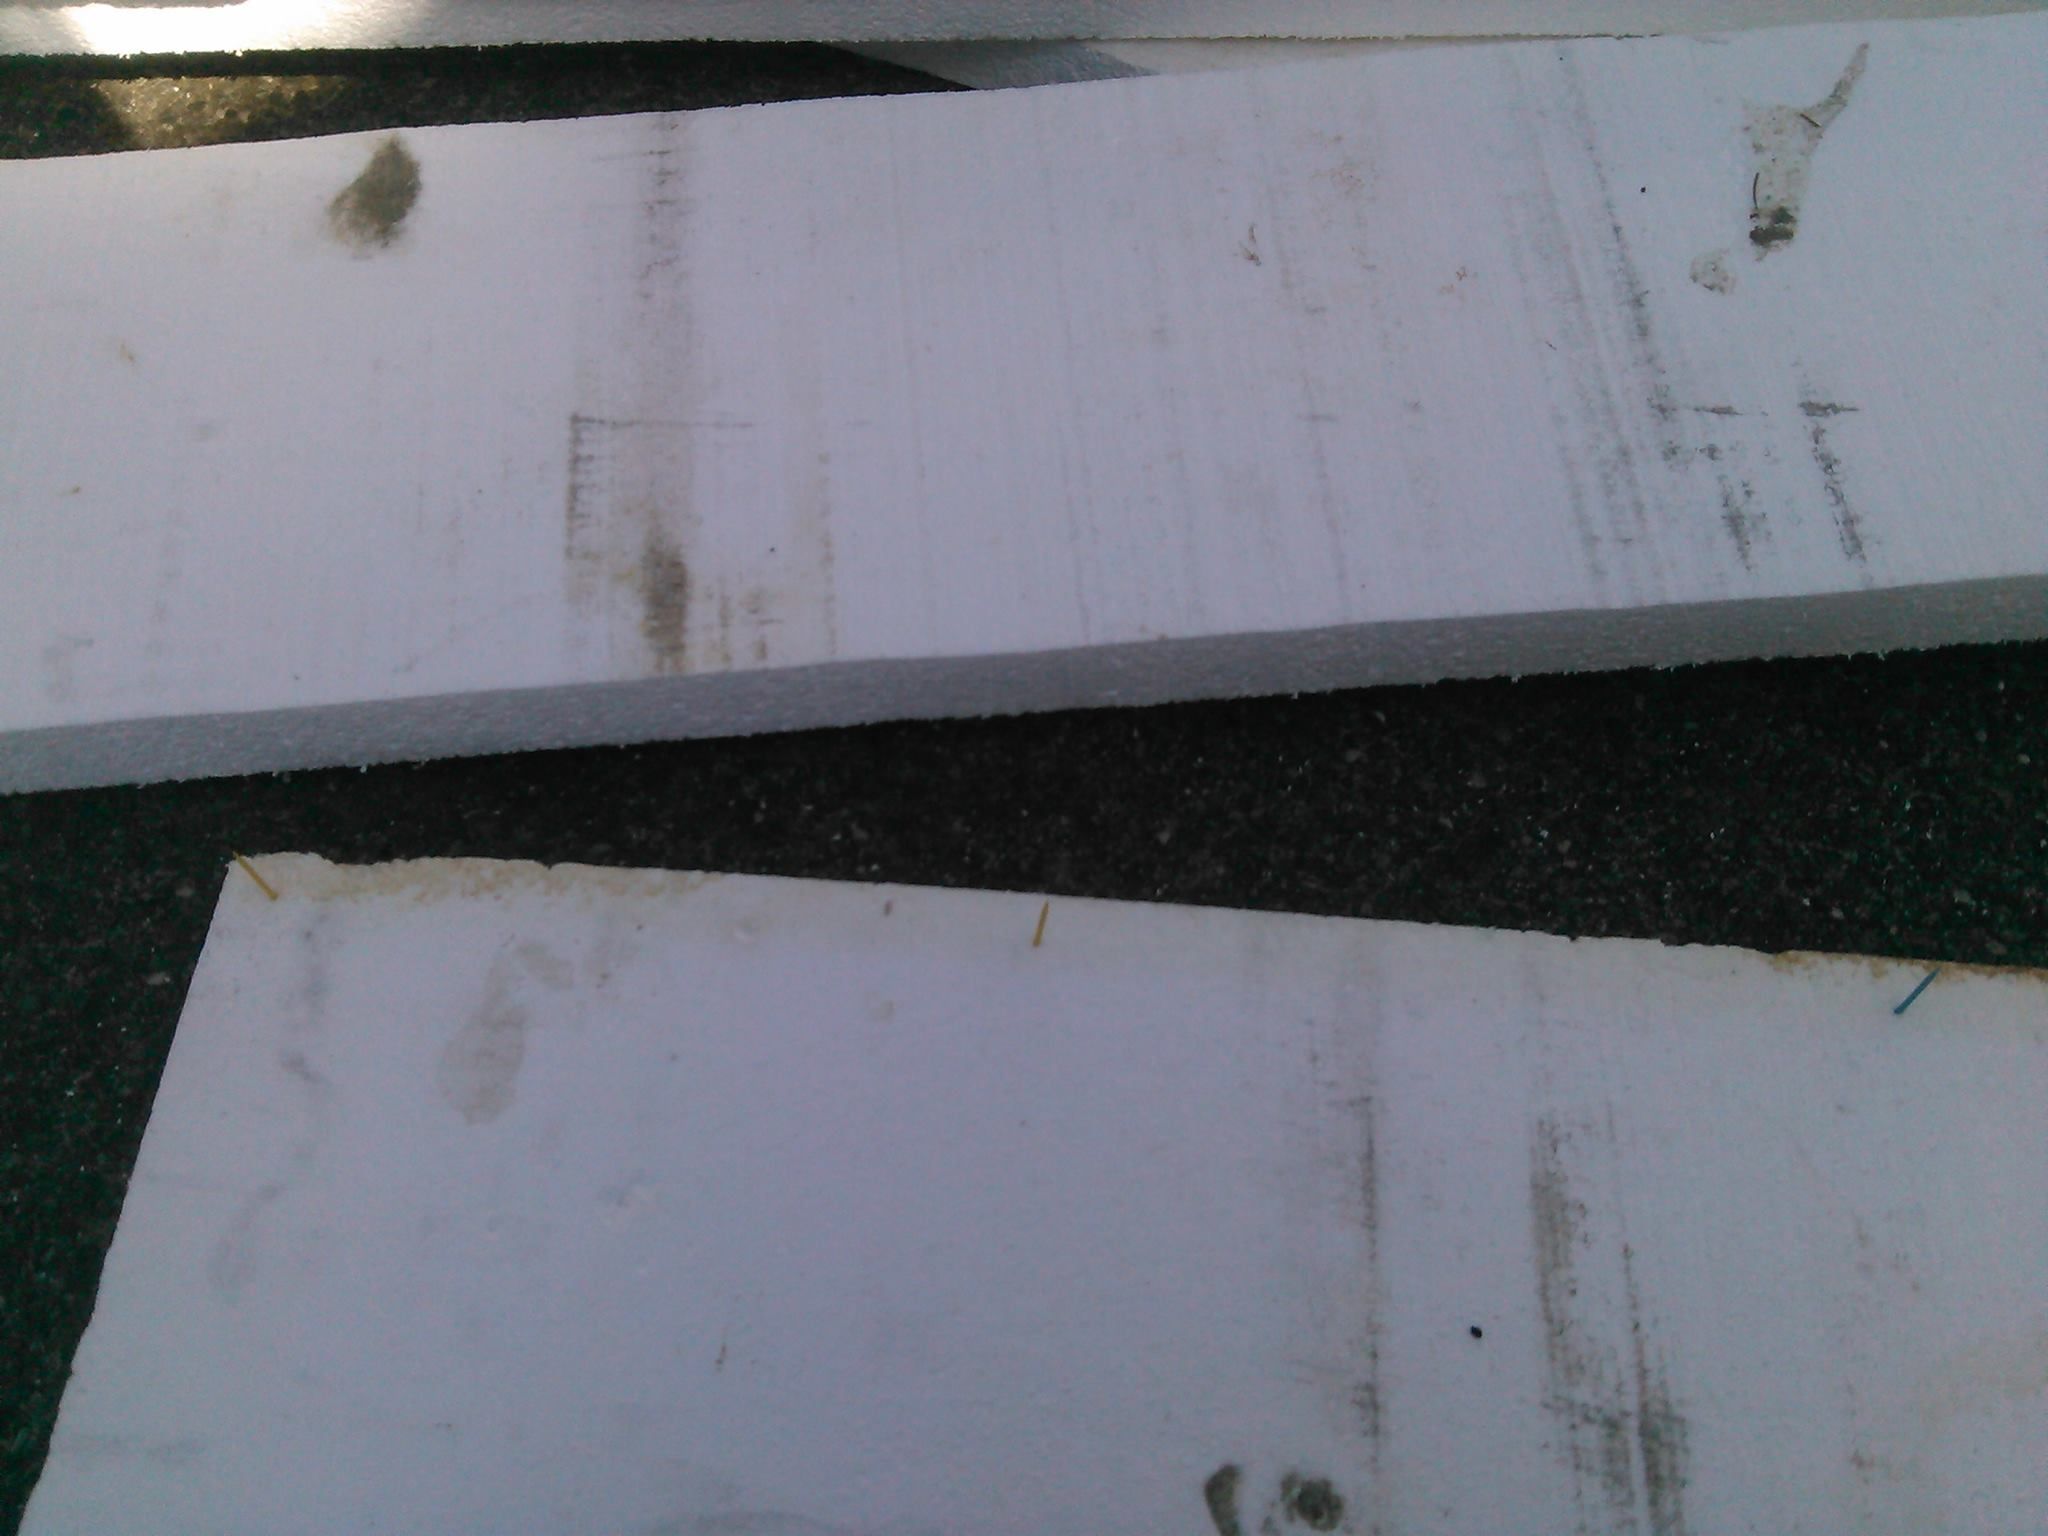
Step 2: Cut the Foam Bricks and Arrange Them
From thicker foam scraps (1" or 2"), cut individual bricks roughly 4" x 2". You do not need to be precise — slight variation in size makes the wall look more realistic. Dry-lay them on the base in a running bond pattern (each row offset by half a brick), leaving 3/8"–1/2" gaps between bricks for the mortar. Leave an open space in the upper center where the skull will sit. Once you are happy with the layout, glue each brick down with foam-safe adhesive or hot glue.
Step 3: Texture the Brick Faces
Smooth foam does not look like brick. Before gluing permanently or while the adhesive is still soft, drag a wire brush or stiff-bristle brush across each brick face in random directions to rough up the surface. You can also score lines, chip corners with a screwdriver, or drag a fork across to add pits and gouges. The goal is a rough, irregular stone-like texture that will catch paint and look convincingly aged. A quick pass with a heat gun on low also melts the foam surface into a realistic pocked texture — keep the heat gun moving to avoid melting through.
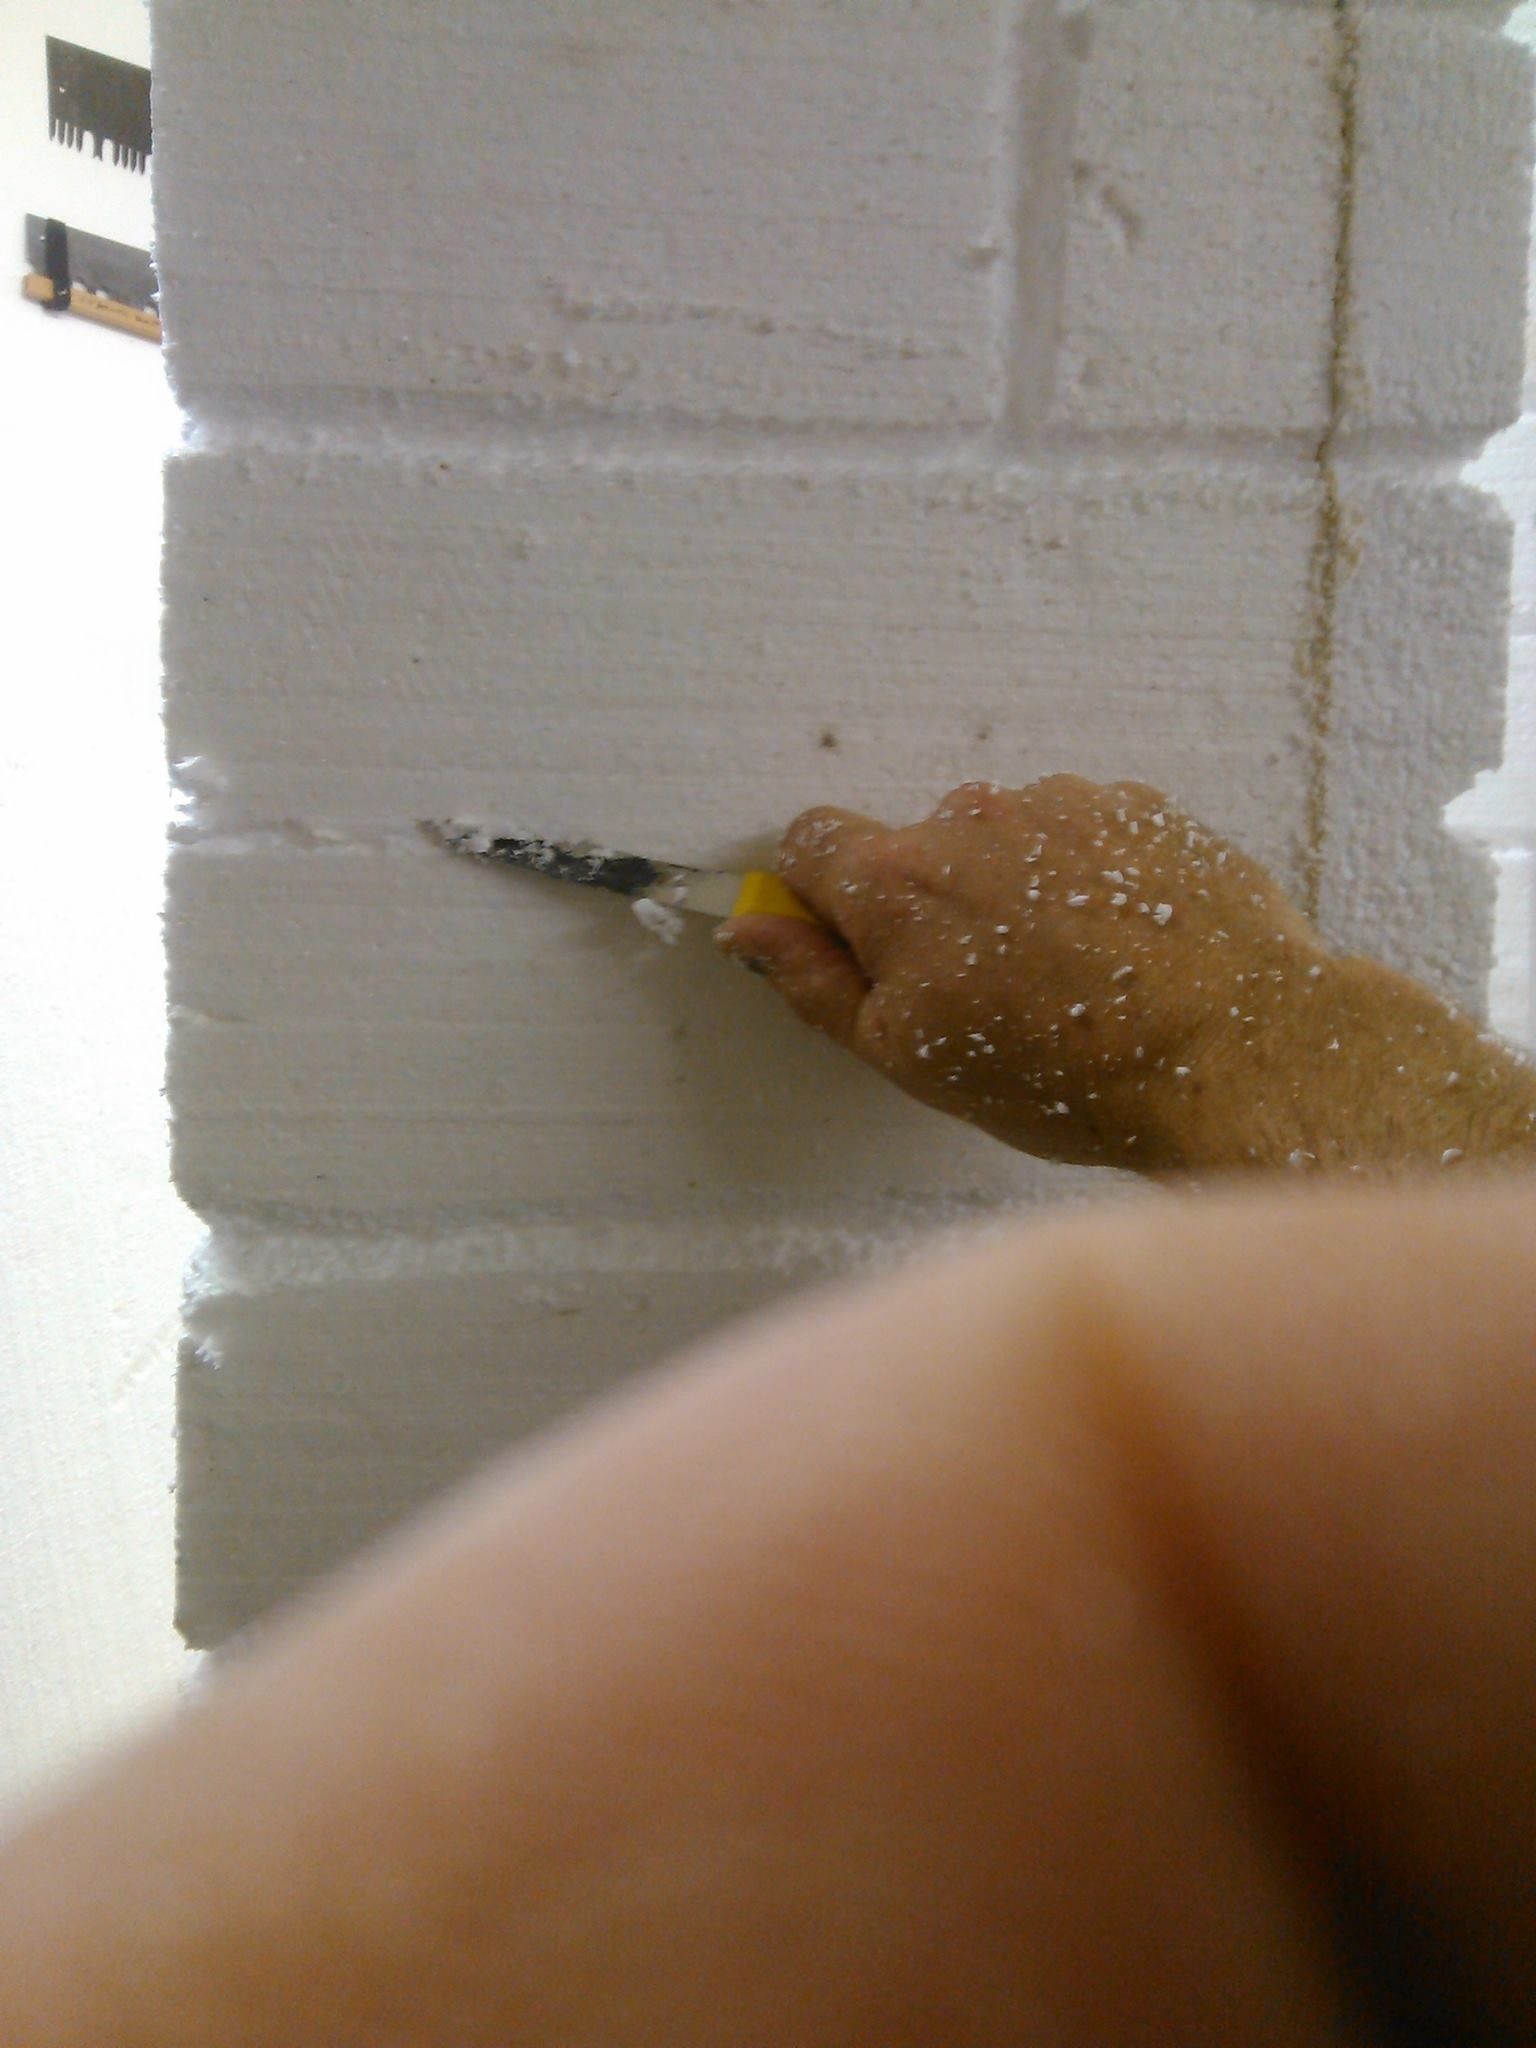
Step 4: Apply Joint Compound Mortar
Mix a small amount of all-purpose joint compound with grey craft paint to a thick paste consistency — this is a simplified version of monster mud. Using a putty knife or old butter knife, press the compound into all the gaps between bricks, slightly overfilling each gap. Drag the knife flat across the surface to scrape off the excess, leaving the mortar lines slightly recessed below the brick faces. Work in sections and wipe your tool clean between passes. Let it dry fully — at least overnight — before painting. The dried compound shrinks slightly which adds to the aged look.
Step 5: Prepare the Skull and Poster Board Backing
Take a standard Bucky skeleton skull and flatten the back side slightly — you can cut or sand it so it sits flush against the wall. Cut a piece of black poster board slightly larger than the skull opening and hot-glue the skull to it. The black card creates a dark void behind the skull that makes it look like it is emerging from deep within the wall rather than sitting on the surface. Paint the skull with a dark wash — thin brown or black paint — wiped into all the recesses to age it, then dry brush with off-white for contrast.
Step 6: Mount the Skull and Position the Skeleton Hand
Fit the skull-and-card assembly into the opening you left in the upper center of the wall. The poster board edges should tuck behind the surrounding bricks — hot glue it in place from behind. Then take the Bucky skeleton hand and arm and glue it to the front row of bricks at the bottom, angled so it appears to be reaching or clawing forward out of the wall. Bend the wrist and fingers into a grasping pose before the glue sets. The visual story reads immediately: a ghoul pressing through the masonry, one arm breaking free first.
Step 7: Paint, Light, and Finish
Base coat the entire prop with flat grey or dark grey spray paint — use a foam-safe formula to avoid melting the styrofoam. Once dry, dry-brush a lighter grey over all the raised brick faces, then add a dark brown wash into the mortar lines and low spots. A final very light dry-brush of off-white on the very tips of the bricks adds depth.
For lighting, glue a second thin foam layer behind the skull opening with a channel routed into it to hold a string of LED lights. Thread the lights through so they glow behind the skull without touching the styrofoam directly — do not let lights rest on bare foam as the heat can cause melting over time. Orange or dim purple LEDs give the best eerie glow effect.
Pro Tips
- Build several panels and stand them in a row to create a full cemetery wall effect — each panel takes less than a day and they stack flat for storage.
- Use a hair dryer on low to quickly dry the joint compound mortar between coats if you are short on time.
- Seal the finished prop with exterior matte sealant spray for outdoor use — unprotected joint compound will absorb moisture and crumble after a season.
- For extra realism, stagger brick heights slightly as you glue — a perfectly level wall looks manufactured; a slightly uneven one looks ancient.
- A second skeleton hand on the opposite side of the wall, partially hidden behind bricks, adds to the sense that a full figure is pushing through.
Shop These Materials on Amazon
- XPS Foam Board 1" Thick Craft Sheets 4-Pack
- 4-in-1 Hot Wire Foam Cutter Kit 15W
- Loctite Power Grab Foam-Safe Construction Adhesive
- USG Sheetrock Drywall Joint Compound 4.5 Gallon
- 5.4ft Full Size Halloween Foam Skeleton
- Realistic Replica Human Skull Statue 6.5"
- Waterproof Outdoor Flameless Flickering LED Candles Set of 2
- Rust-Oleum Flat Black Spray Paint 12oz
Affiliate Disclosure: HauntersList.com is a participant in the Amazon Services LLC Associates Program. As an Amazon Associate we earn from qualifying purchases at no extra cost to you.
Sources & Credits
This tutorial is based on the Ghoul in Wall prop originally described by Deanna at The Mad Lab (November 2009 tutorial — site no longer online). Build steps have been expanded and updated for current materials.