


Installing a Servo in a Bucky Skull
There’s nothing more satisfying than creating your own talking skull. I would have no way of knowing this since I opted to purchase one for fear that I would horribly botch the installation, but I honestly suspect there’s nothing more satisfying than creating your own. With that in mind, Scary Terry has a great tutorial on Installing a Servo in a Bucky Skull.
 |
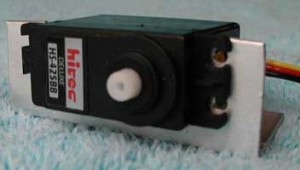 |
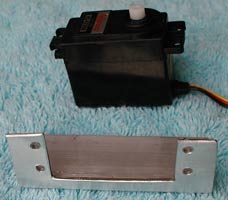
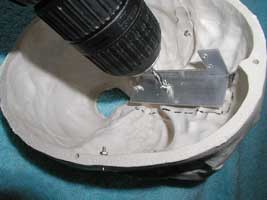
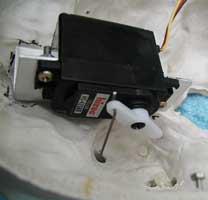
You’ll start by building a mounting bracket for your servo out of aluminum and then you’ll mount the servo bracket in the Bucky skull (ok, there’s a little more to it, but trust me, you’re going to need to check out Scary Terry’s Tutorial).
 |
 |
You’re going to break the jaw of your skull next and reconnect it utilizing the zip ties as the new pivot point of the jaw.

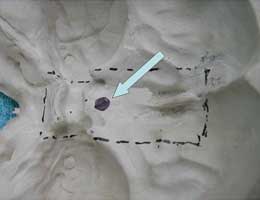
You’ll next drill a hole in the skull and connect the servo to the jaw using a piece of the music wire.
 |
 |
That’s all there is to it, more or less, but you’ll still need an audio circuit to drive the servo. Luckily, Scary Terry has an audio circuit solution as well!
Items needed to complete this include:
- Bucky Skull
- Servo (HiTec HS-425BB – See details at ServoCity)
- (2) 3/4″ long 1″x1″x1/16″ angle aluminum
- 0.039″ Music wire, aka piano wire
- (1) 1/2″ #6 screw, nut, washer
- Servo mounting hardware (#4/ 40 screws and nuts)
- (2) 4″ Zip ties