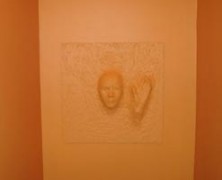
If you want to add a bit of subtle detail to your haunt walls, Violetkitty has an instructable for a Spirit Panel that could very easily be used. The tutorial is based on an original idea titled Ghosts in the Bookcase Halloween Project, and it’s a simple way to add some depth to any flat surface. In a nutshell you’re going to glue or screw down the item you want protruding from the wall. You’ll then start to cover the protruding items with your paper mache mixture so that it completely covers them and appears to be stretching the wall. After you’ve got the items coated you’ll need to let them dry a bit and then cover the entire surface with the paper mache mixture. Once completely coated you can sand it down a bit and paint it. The great thing about this idea is that you can use plastic masks, skulls, prop hands, pretty much whatever you want to appear to be coming through the walls. It’s not a tricky project, and it can add a nice wrinkle to an otherwise plain wall. Items needed to complete this include: Plywood (or the flat surface of your choice) Plastic Mask Manicure plastic hand Gorilla glue Celluclay paper- mache Sandpaper Latex...
Haunted Tree
posted by Tony
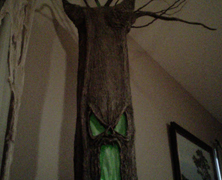
I’ve always been a big fan of the scene in Snow White and the Seven Dwarves when Snow White is running through the forest and the entire evil forest is trying to grab her. I love that scene, and I’m pretty sure Mizerella from the 102 Wicked Things To Do blog is a fan as well. She’s constructed a tree that would definitely be worthy of residence in Snow White’s forest. The tree is created using two round concrete forms that can be split for easier storage along with a mixture of paper mache and celluclay. It doesn’t seem like an extraordinarily difficult project and the tree looks incredible. Items needed to complete this include: 2 Concrete building forms (sonotube) 1/4 sheet of plywood Newspaper Masking tape Paper mache Celluclay Coat hangers Branches (to spread on top)...


